As much as I love street photography, I can be a bit of a fair-weather photographer, only heading out in bright, clear conditions and packing away at the first sign of bad weather or low light. The truth is, shooting during the day is just easier. You are able to wander around, shooting whatever you want without too much thought about lighting or camera settings and still get pretty great results. After dusk, getting a great shot can become a little more complicated and difficult.
However, as night falls, the darkness can add a brand new dimension to otherwise ordinary street scenes, perfect for enriching the pages of your custom photobook, especially in urban landscapes. Light emanates from neon signs, shop fronts and traffic, bathing the street in swathes of interesting colours. The people that you find outside at night are more interesting too. They may be dressed in their glad rags ready for a night on the town, hanging outside eateries or drunkenly misbehaving. scenes that are bland during the day can become gritty, fun or interesting after dark.
If you are thinking about starting your next street photography session at twilight, rather than ending it, here are a few tips to get you going.
Pick the Right Camera Settings
Picking the right settings for your camera is one of the most important things when shooting street photography at night, particularly in dim surroundings. It is much harder to get a sharp, correctly exposed image than it is during the day.

To freeze motion during the day, I tend to use a shutter speed of 1/250th but ranging anywhere from 1/500th to 1/180th. This isn’t really possible at night. In well-lit streets, you may still get away with shooting at 1/250th but most of the time it will be best to use a shutter speed somewhere between 1/125th to 1/60th. Anything longer will result in too much camera shake and blurred images. Even at 1/60th, you will need to have steady hands and a wide-angle focal length to shoot handheld.
You are going to have to ramp up the ISO to around the 3200 to 6400 range. Anything higher can result in a little too much noise for my liking.
Shoot with a Prime Lens
I always shoot with a prime lens if possible, choosing a 27mm f2.8 or 56mm f1.2. Although it can be a bit of a pain to lug multiple lenses around with me as I travel, rather than just sticking with my trusty Fuji XF18-55mm kit lens, the primes allow me to shoot with a wider aperture. This will help in keeping the ISO down to an acceptable level.

Try to use Manual Focus
Focussing in the dark can be difficult for even the best camera systems and often, camera’s have trouble locking onto a subject when using AF in these conditions.
Autofocus needs light, or more specifically, contrast to focus. Low light can mean that the contrast will be low and the subject may be too dim for AF to recognise. As the light fades, you lose both of these things and one of them has to be reintroduced to get your AF system working again. Focussing manually and using tools like focus peaking can help a lot.
If you are using AF, It is worth thinking about whether to use your camera’s AF Illuminator (a small light that illuminates subjects close at hand when there is not enough light for the AF system to function efficiently) or flash. Using the AF illuminator, subjects within a couple of metres of the camera will receive enough light to allow the AF system to function. I prefer to switch this feature off, especially when shooting street photography, as it will make you more conspicuous and subjects may become a little wary of your presence. However, it’s a very useful feature for shooting street portraits at night.
If the subject is still too dim, it is worth finding a high contrast edge at the same or similar distance as your subject in order to get your camera to focus correctly. If the subject is wearing a mix of light and dark clothes, this can work quite well, but be aware that when using wide-open apertures, you will need the point of contrast to be at the same distance as the subject that you are shooting.
Search for the Light
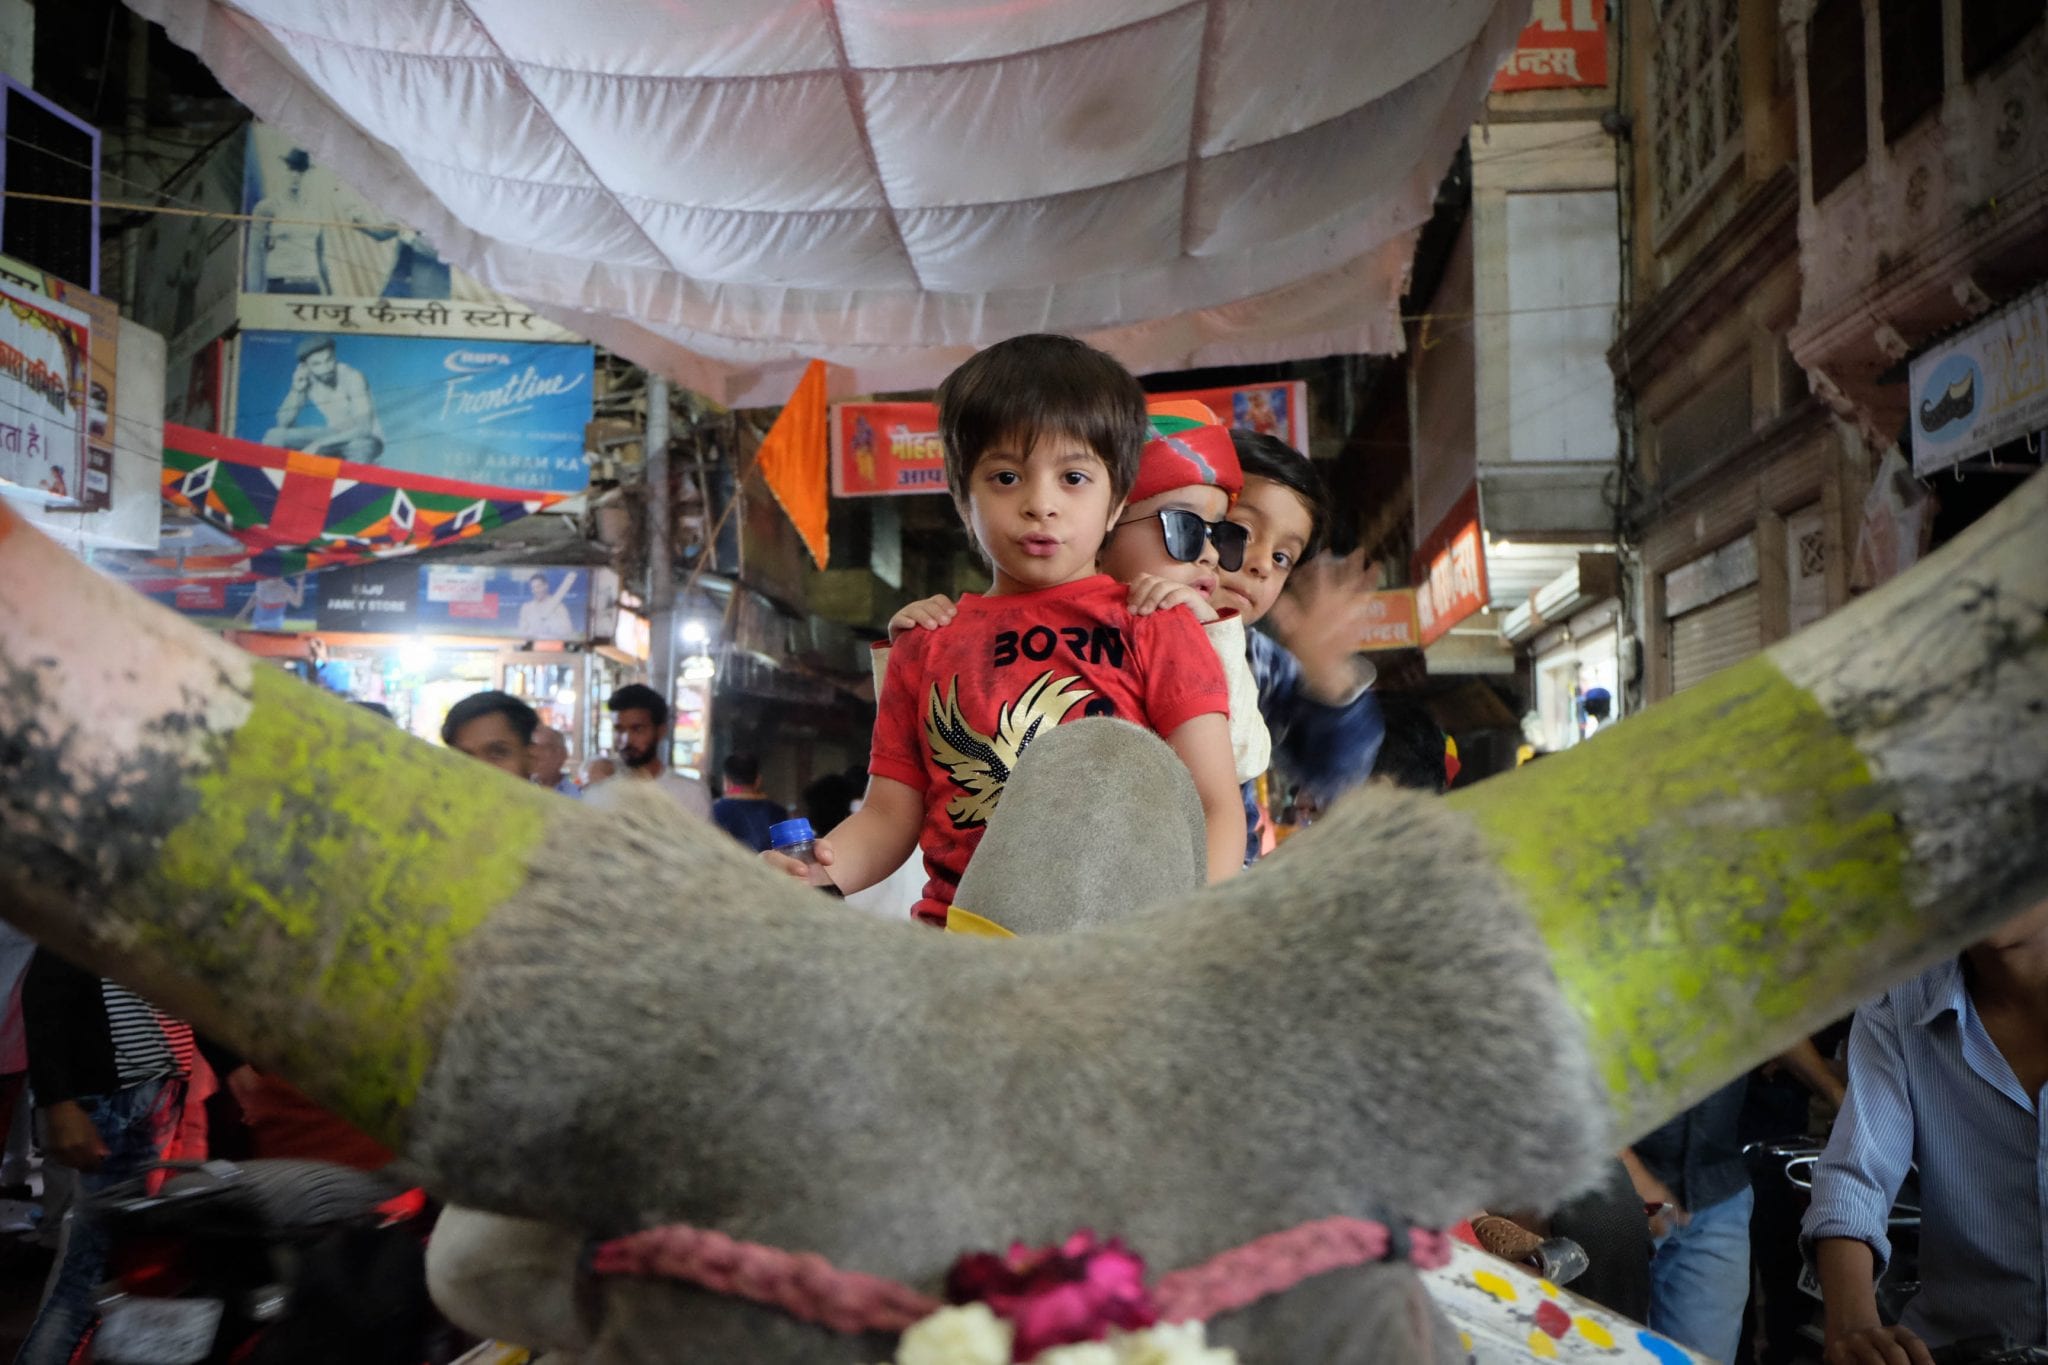
Unless you’re shooting on a clear night with a full moon in the sky, chances are that there won’t be much light around. If your lens aperture doesn’t wider than f4, searching for a light source can be a good way to ensure that you can get a sharp image without being limited by your kit. In this case, I’m talking about artificial light sources; Shop windows, neon signage and street lights work really well. All of these can work as concentrated pools of light, illuminating people beautifully in a myriad of interesting colours and shades. I find that it helps to look for the light source first, then hang around waiting for something interesting to happen.
Consider how the light hits your subject. If you point your camera towards a shop window, you are able to capture interesting silhouettes as pedestrians pass by. On the other hand, if you focus on the light source itself, the subject will be less pronounced but you can get a good shot of the signage with people below it lit moodily, like in the photo below. It is also good to look out for people on smartphones. If someone has one close enough to their face, it will light them better than any studio light or flash.

Photograph Nightlife
If you’re wanting to photograph people at night, then you’re going to have to look for the greatest concentration of them. This is often in areas with bustling nightlife; street food markets, party districts and city centres. Scenes that are bland during the day can become fascinating at night as people dress in their favourite outfits and hit the streets.
Get up Close and Personal
Hungarian photojournalist Robert Capa once said, “If your photos aren’t enough, you’re not close enough.” Unfortunately, this will make you more visible to the people you are shooting and can result in some awkward situations and confrontations. In reality, I’m not the kind of photographer that hides in shadows shooting people from a distance, hoping not to get noticed. People are usually aware that I am taking photographs and it is quite easy to see who is indifferent to your presence and who clearly doesn’t want to be shot. No photograph is worth upsetting someone.

If you want to shoot people on the street, street portraits especially, you’re going to have to get used to the fact that it can be uncomfortable. You’re going to have to approach people to ask them and involve them in the process. Most people will reject you. It’s not personal, it’s just that they don’t know what you’re going to do with the image. They’re not sure why you’re there or what your motives are. The best thing that you can do is ask and know that it is going to be a high failure rate. If you’re taking someone’s photo, be kind about it. Involve them in the process. Show them the photos you’re taking and take their details down so that you can send them the photos later. Make sure that you are generous in the way that you approach and involve people in what you’re doing.
Step Back
Although I usually try to get close to my subjects, sometimes it helps to step back a little and set the scene. At night, a street scene can be transformed thanks to street lights and shop signage, making it much more beautiful than during the day. It often works to have people become the secondary element to the scene, rather than the primary focus.
One advantage to this is that you can pay much less attention to your camera settings. It is easier to photograph a sharp image of a group of people without motion blur from a distance than close up. You’re likely to get away with shooting at 1/60th of a second shutter speed, rather than at least 1/125th when close up.
Look After Yourself & Your Equipment
Finally, make sure to look after yourself when shooting at night. Keep your camera gear close and secure and always be aware of your surroundings. Going out at night with a tonne of equipment is not always safe. Travel light and think about having someone else with you when you shoot.
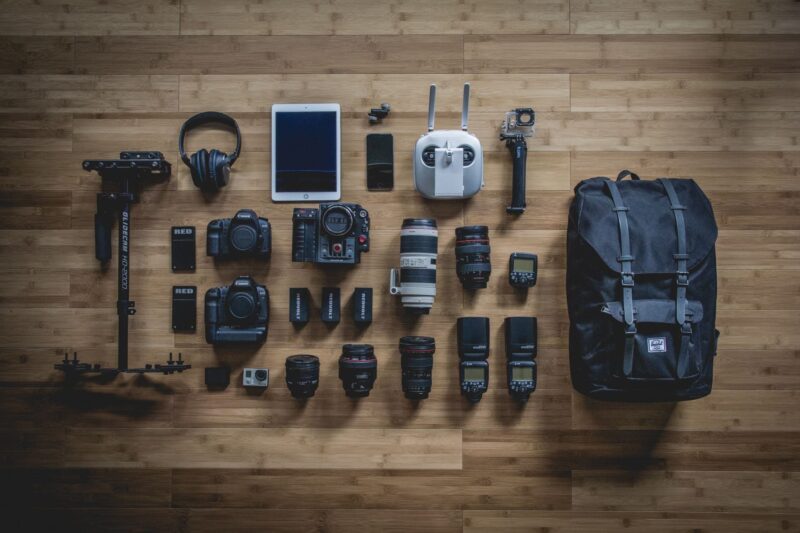
If you’re wondering what camera and lenses I use, head over to this post to find out what’s in my camera bag.